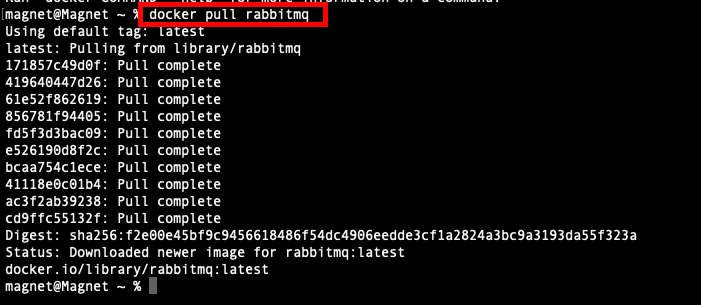
- Download Rabbit MQ docker image from docker community
- docker hub link: https://hub.docker.com/_/rabbitmq
- pull docker image with the command: docker pull rabbitmq
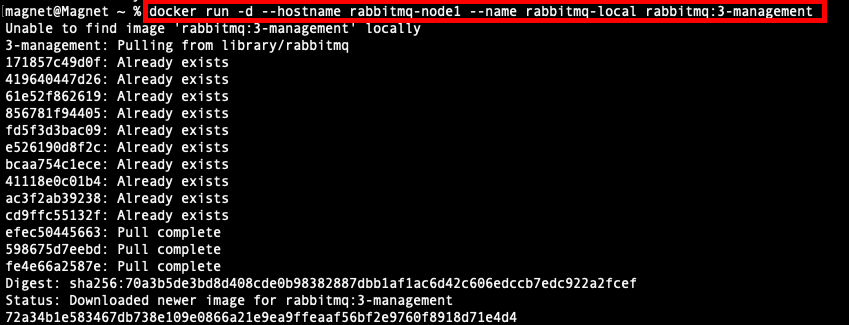
- Start Rabbit MQ first time using the following command
- docker run -d –hostname rabbitmq-node1 –name rabbitmq-local -p 8080:15672 rabbitmq:3-management
- There on use the following command: docker start rabbitmq-local

- Docker application logs will look like following
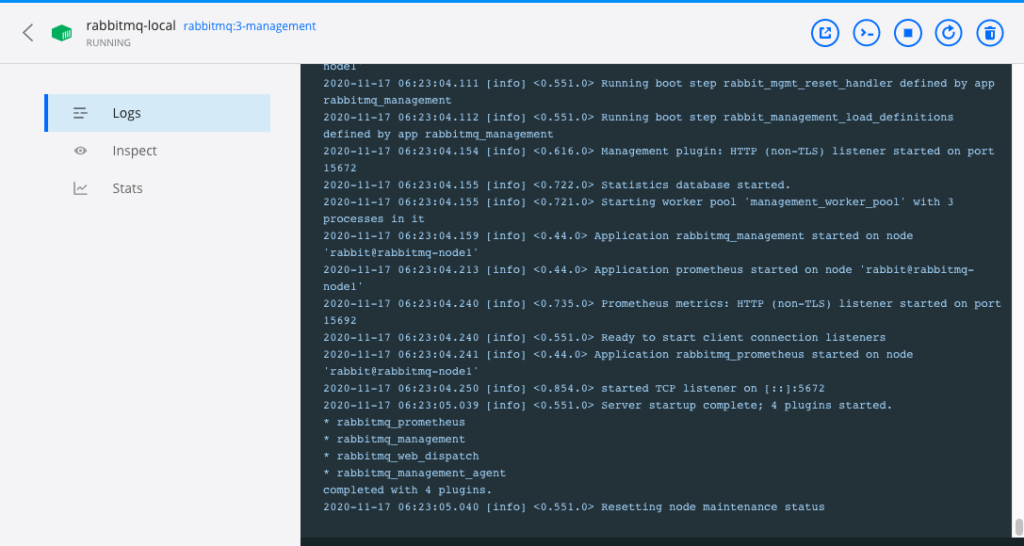
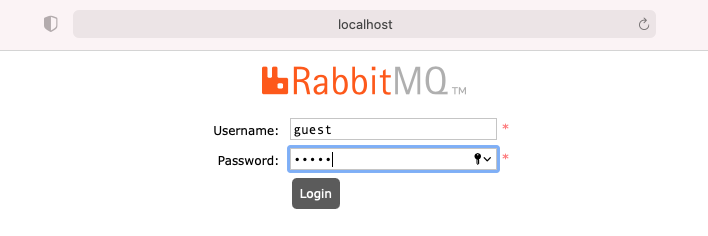
- Rabbit MQ management server will start and mapped to the localhost:8080 port
- note: if there is a port conflict, you can replace 8080 with any other available port in step 2
- the default login is with user id guest & password guest